You’ve been there. You’re watching something on Netflix, Disney+, or Hulu and you want to capture a clip for a review or commentary project. You hit record, feeling confident — then you play it back and there’s nothing. Just a black screen staring back at you.
This isn’t a random glitch. It’s intentional protection built into every major streaming platform, and it catches paying subscribers just as much as anyone else. The technology doesn’t care why you’re recording.
The good news: there are legitimate, working methods to capture clips for fair use purposes like commentary, reviews, and educational content. I’ve tested every approach out there, failed repeatedly, and eventually figured out what actually works. This guide skips the dead ends and gets straight to what solves the problem.
Why Does the Black Screen Happen?
Before the solutions, it helps to understand what you’re actually up against.
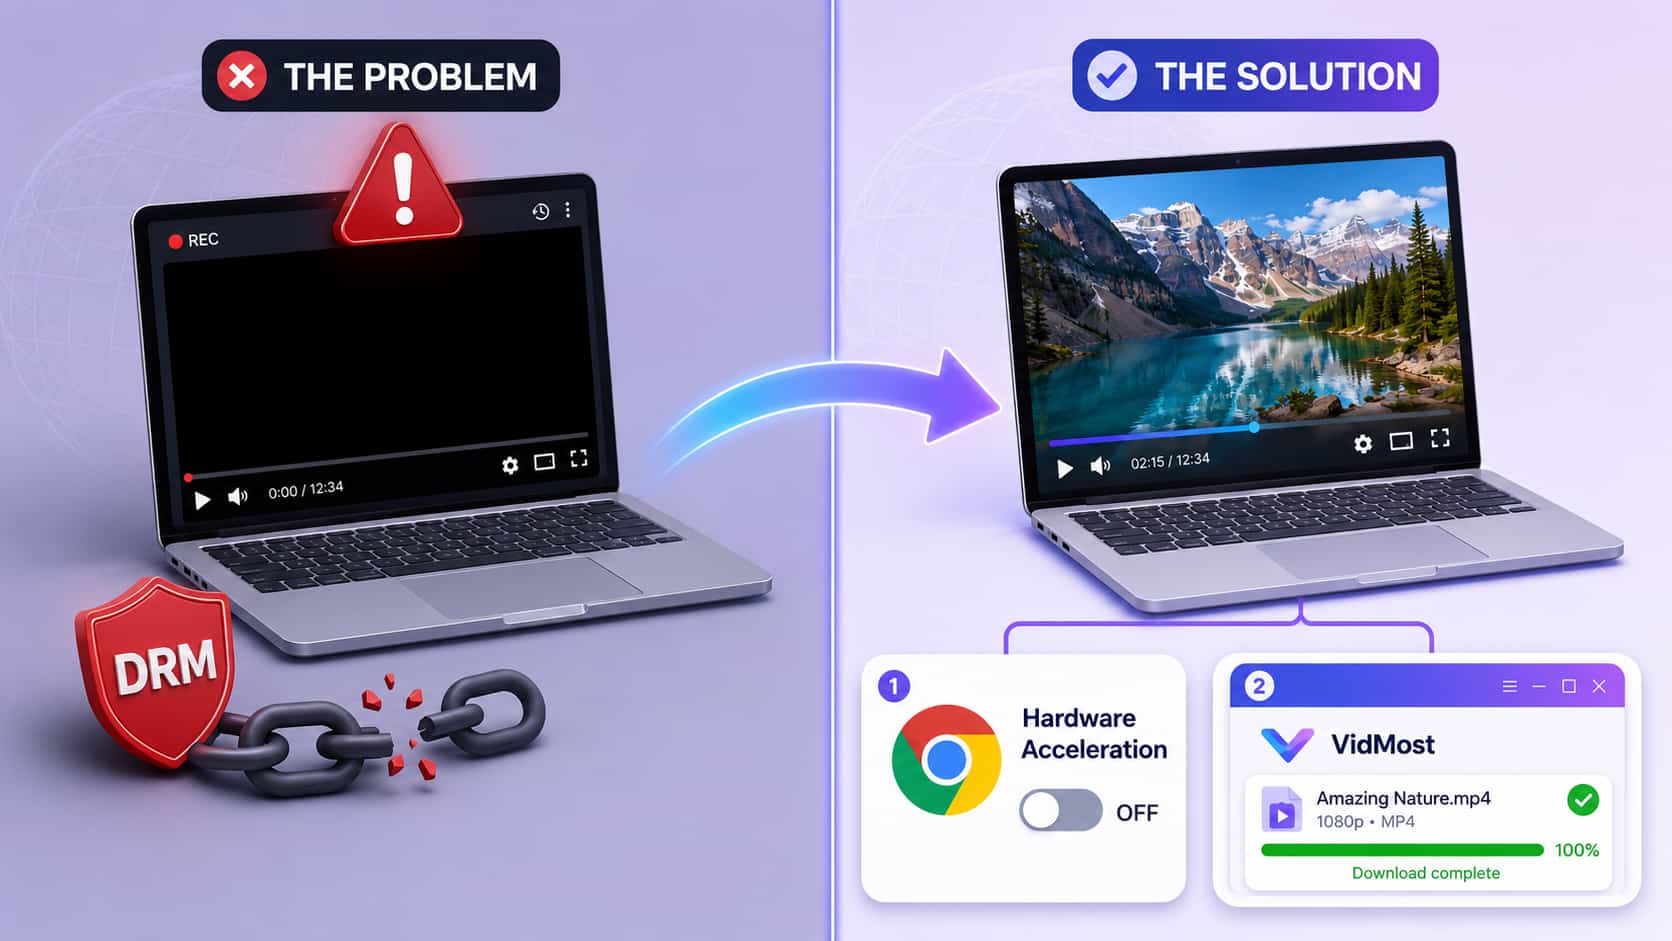
Streaming services like Netflix, Disney+, Amazon Prime Video, and Hulu use DRM (Digital Rights Management) protection. This technology actively monitors your system for screen recording software and either blocks the video stream entirely or replaces it with a black screen the moment it detects something recording.
The protection runs at the system level — not just in one app or browser setting. That’s why switching to a different screen recorder rarely helps. DRM actively interferes with standard recording methods, which means you need a specific configuration that works around the restriction rather than ignoring it.
This applies even if you’re a paying subscriber wanting a single short clip for legitimate purposes. The technology blocks everything by default without distinguishing between use cases.
It’s worth knowing that this is exactly why many creators skip the workaround entirely and use VidMost instead. VidMost has built-in Widevine L3 decryption support and downloads the video file directly — no black screen, no system-level configuration required. But if you want the screen recording approach, here’s how to make it work.
Step 1: Browser Choice Matters More Than You Think
Most tutorials skip this entirely, but your browser is a critical variable.
After testing across multiple options, Chrome is the only browser where this method works consistently. Firefox, Edge, and Safari all create problems at different stages of the process. Chrome’s architecture — specifically how it handles certain video codecs and DRM frameworks — creates a workable gap when you adjust one key setting. That’s where we’re going next.
If you don’t have Chrome installed, start there. Don’t try to adapt this process for other browsers. You’ll waste time.
Step 2: Choose the Right Recording Software
Not all screen recorders work for this. You specifically need software that captures system audio (the audio your computer is playing, not your microphone input). Without this, you’ll record silent video, which defeats the purpose.
Loom is the best starting point. The interface is straightforward, quality is solid, and the first 25 videos are completely free — enough for most use cases. It captures both video and system audio reliably when configured correctly.
If you need more than 25 recordings or want more granular control, OBS (Open Broadcaster Software) is a powerful free alternative with no recording limits. The tradeoff is a steeper learning curve on initial setup. Once it’s configured, it’s extremely capable.
This guide walks through Loom since it’s more beginner-friendly, but the core principles apply to any recording software you choose.
Step 3: Configure Your Recording Software Correctly
This is where most people go wrong. Right browser, right software, wrong settings — and you still get nowhere.
Open Loom’s preferences and configure the following:
-
Default quality: 1440p — you want crisp footage that holds up in editing
-
Turn off “Highlight Mouse Clicks” — removes the click indicator from your footage for a clean look
-
Disable the control menu during recording — prevents Loom’s interface from appearing in your capture
-
Enable mono audio recording — ensures audio captures correctly across both channels
-
Verify system audio recording is enabled — this is non-negotiable; without it you get silent video
-
Set both camera and microphone to “none” — eliminates webcam overlay and external mic interference
These settings produce clean, uncluttered footage ready for editing.
Step 4: Disable Hardware Acceleration (The Critical Setting)
This is the single setting that makes or breaks the entire method. Surprisingly few tutorials mention it.
In Chrome, go to Settings → System and find “Use hardware acceleration when available.” It’s enabled by default. Turn it off.
Hardware acceleration normally improves browser performance by routing video processing through your graphics card. But it’s also the mechanism that allows DRM protection to fully activate and block your recording attempts. Disabling it forces Chrome to process video differently, creating a gap in the protection layer that your screen recording software can capture through.
After toggling this off, Chrome will prompt you to relaunch. Do it. The restart isn’t optional — the setting doesn’t take effect until Chrome fully restarts.
Recording Your Clips
With setup complete, the actual recording process is straightforward.
Navigate to your streaming platform, find the video you want, and position it a few seconds before the clip you actually need. Starting slightly early lets you enter full-screen mode and wait for the playback controls to disappear naturally before the important content begins.
Enter full-screen, start Loom’s recording, confirm the microphone-off prompt, and play the video. Move your cursor completely off the visible screen area and leave it there. Any mouse movement can trigger the streaming service’s control overlay to reappear, which will show up in your recording.
Once you’ve captured what you need, stop the recording. Loom processes and packages the clip automatically.
Why VidMost Is the Better Long-Term Solution
Everything described above works — but it’s a workaround. You’re adjusting browser settings and hoping nothing breaks with the next update. For occasional use, it’s fine. For regular content production, there’s a more reliable approach.
VidMost is built specifically for DRM-protected video downloads. It supports OnlyFans, Fansly, and major streaming platforms alongside 1,000+ other sites where standard tools fail completely. Unlike screen recording, VidMost downloads the actual video file, which means several concrete advantages:
Consistent quality regardless of conditions. Screen recording captures whatever your screen is displaying at that moment — if there’s buffering, interface elements popping up, or quality dips from your connection, all of that gets locked into the recording. VidMost downloads the source file directly, giving you stable quality regardless of your internet speed or screen resolution.
No interface contamination. No playback controls accidentally captured, no buffering spinners, no notification popups ruining your clip.
Batch downloading. Need multiple clips from the same show? Queue them up and let the software handle it. Instead of manually recording each segment, you set up the downloads and come back when they’re done.
Cross-platform. YouTube, Twitch, Reddit, X, OnlyFans, Fansly — one tool handles all of them. If you’re regularly pulling clips from different sources, VidMost consolidates your workflow significantly.
Screen recording is the right tool for occasional, quick captures. If you’re producing content regularly and fighting with settings constantly, VidMost eliminates most of that friction and delivers better quality files.
Troubleshooting Common Problems
Still getting a black screen after following every step? Verify that hardware acceleration is actually disabled and that you’ve fully restarted Chrome — including closing any background Chrome processes. Sometimes Chrome needs a complete exit and fresh open for the setting to fully take effect.
No audio in your recording? Go back into Loom’s settings and confirm system audio is enabled. Then check your operating system’s audio settings. On Windows, look in Sound Settings. On Mac, check System Preferences → Sound. Make sure the correct output device is selected.
Quality looks poor? Confirm Loom is set to 1440p. Also note that streaming services dynamically adjust quality based on your connection speed. If your internet is slow, pause the video for a minute to let it buffer at higher quality before you start recording.
Recording stutters or lags? Your system is resource-constrained. Close other applications, especially anything using significant CPU or memory. Extra browser tabs, background apps, anything competing for processing power.
A Note on Fair Use
Before you start capturing clips, understand the legal boundaries.
Fair use (called by different names in different countries) generally allows short clips from copyrighted content for purposes like criticism, commentary, news reporting, or education. The key operating principles: keep clips short (seconds, not minutes), always add original commentary or analysis on top of the captured content, and never repurpose someone else’s content as your own without adding value.
YouTube has published guidelines on this worth reading before you start. The rules aren’t always perfectly clear and vary by jurisdiction, but understanding the basics keeps you out of trouble.
Frequently Asked Questions
Does this method work on Mac and Windows? Both work identically. Chrome and Loom function the same way on both operating systems. The only minor difference is where you find certain system settings if you need to troubleshoot audio issues.
Will streaming services ban my account for this? Capturing clips for legitimate fair use purposes won’t get you banned. Streaming services cannot detect that you’re using this recording method. Downloading and distributing entire movies or episodes would obviously violate terms of service — that’s a different situation entirely.
How long can my clips be without copyright issues? There’s no magic cutoff, but shorter is always safer. For review or commentary, clips under 30 seconds are generally fine. Length matters less than whether you’re adding original analysis on top of the content.
Why doesn’t the built-in screen recorder on Mac or Windows work? Built-in tools don’t capture system audio correctly, and they don’t have the specific configuration needed to work around DRM protection. You’ll get black screen or silent video, neither of which is useful.
Does VidMost work with Netflix and Disney+? VidMost is designed for DRM-protected content and works with subscription platforms including OnlyFans and Fansly where standard tools fail entirely. For current compatibility with specific streaming services, check their website directly — streaming platforms update their protection methods regularly.
Can I record in 4K? Your recording quality is capped at whatever your screen is actually displaying. If your monitor supports 4K and the video is playing at 4K, you can record at 4K — but file sizes become very large, and most content doesn’t require it. 1440p is the practical sweet spot. If you want genuinely high-quality source files rather than screen captures, VidMost downloads the original video file, which produces better results than screen recording at any resolution.